
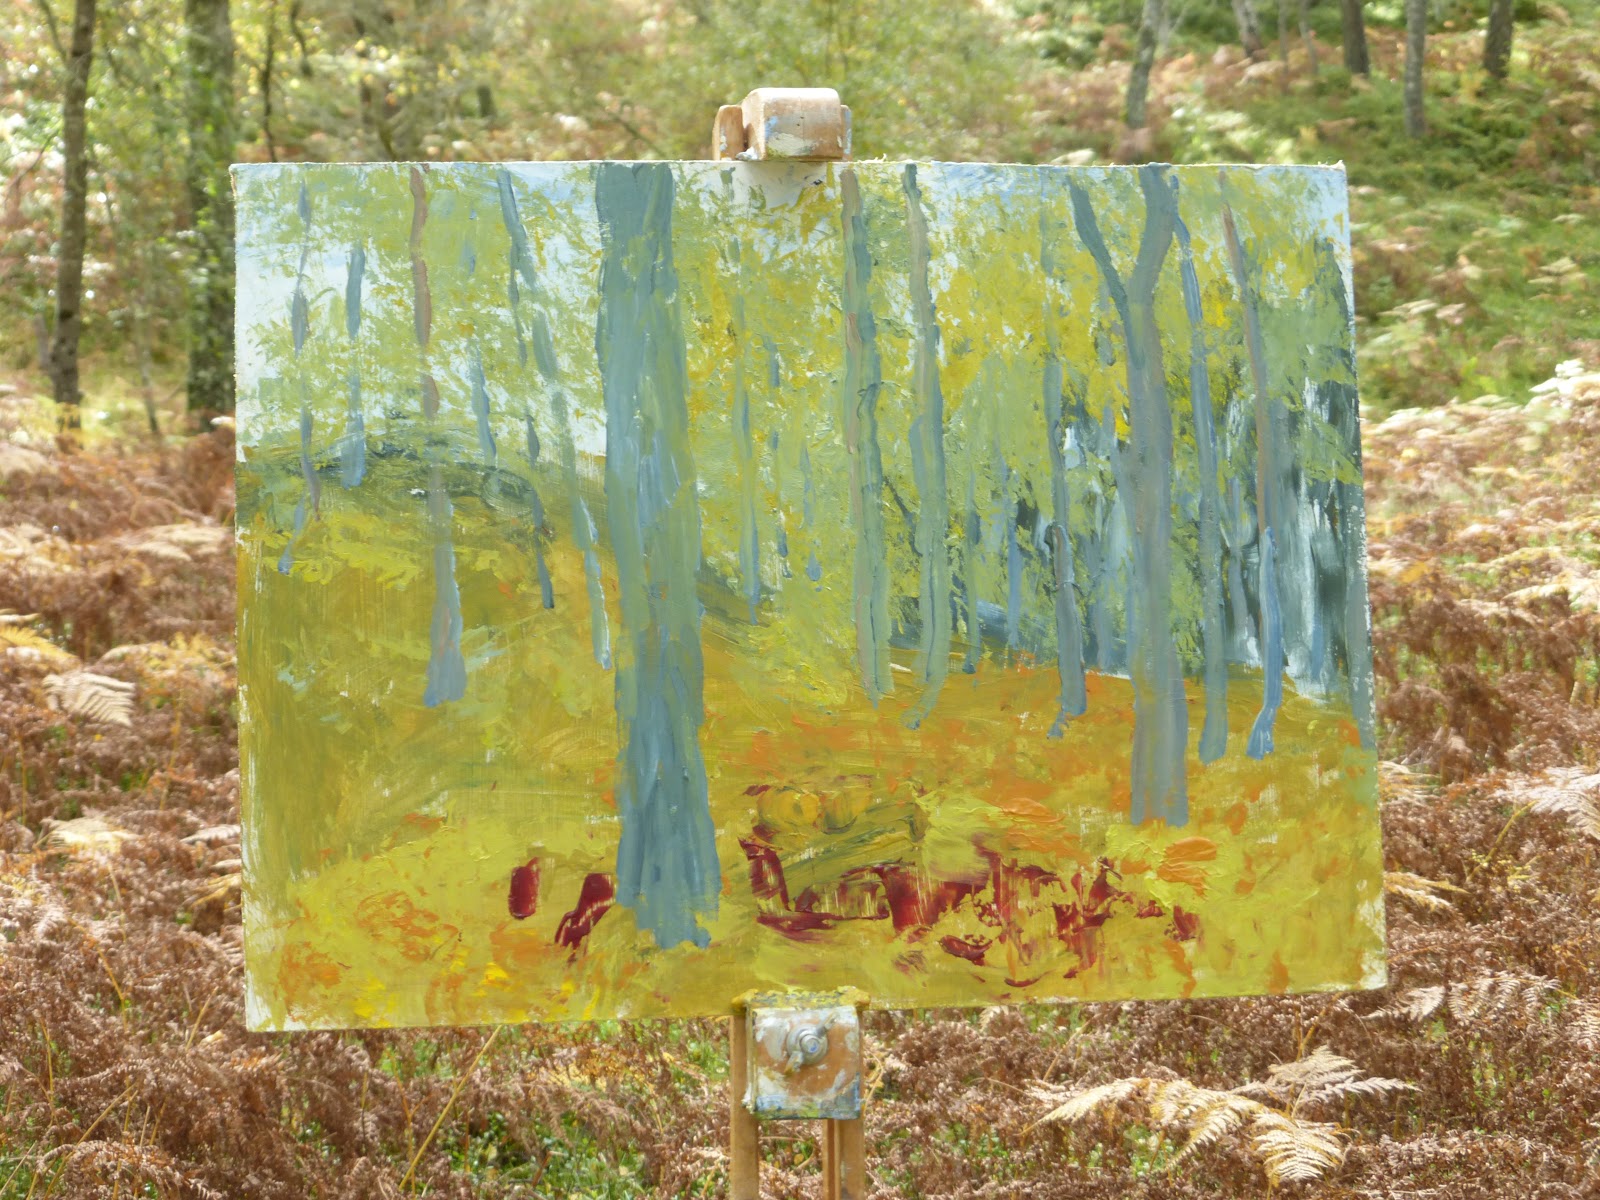
The first thing was to choose a site and get set up. My portable easel is over 40 years old now, but it still suits me very well. I can carry it long distances if necessary (not this time) and the adjustable legs allow me to get the board level even on a mountain slope. On this occasion it was just a case of finding a view I wanted, with trunks and undergrowth and bracken more or less spread as I liked. I used acrylic paints - as I usually do - so the equipment was simple.

The first step was to cover the whole board - a thin sheet of hardboard, coated with acrylic primer - with what I knew would be deep background. I used a rag for this. The nature and the direction of the smears was deliberately varied according to the subject. The sky was Prussian Blue Hue and Cerulean, with a lot of Titanium White. The dark patch on the right was Prussian Blue and Raw Siena. This was where there were some dark pines beyond the birches. The smears here were vertical. The foreground and middle ground were Yellow Ochre and Raw Sienna for the patches of bracken with a few bits of green made from Cadmium Yellow with Prussian Blue. Some of the same appears for birch trees in the canopy. I haven't used a tube green for years; I find they too easily take over the whole picture. As for the Cadmium Red Deep in the foreground - well great masters from Ruysdael to Constable have put patches of red in the foreground of landscapes and, unlike them, I don't have to invent a buoy or a jacket to justify it.
The next step was to use a round brush to put in tree trunks. The greys were made from mixtures of the colours already listed and also some Burnt Siena. The main point here was to think about composition. I was closely guided by what was in front of me but I thought just as much about the painting. For example, the largest tree was placed so that there was more or less a square to it's right, and the other large tree was placed so that the gaps between it, the edge, and the other tree were not equidistant. I wondered whether to have the tree just to the left of the big one leaning out of the painting. But I decided that I could use smaller branches to bring the eye back in, and I did not want to manipulate nature's composition too much and and risk making a stock illustration.

Three main steps are shown here. One was to use a small round to add some thinner branches. As before nature was my guide, but I was always also thinking about the finished painting. Another was to use the rags to dab more greens of the foliage. These to steps went on simultaneously, as branches and foliage overlap. Then there was the bracken.I have often found this a problem; I knew I did not want to get involved in detail of fronds. After a couple of strokes of a palette knife I realised that rags were my best weapon. By thinking about how you fold and bunch them you can make marks of different shapes. I mixed a colour for the bracken-in-shade, using more red and blue in proportion to the Raw Siena. Then for the fronds on top, catching more light I added a tiny amount of yellow to the Siena. When it came to the dark green patches - moss and bilberry mostly - and the paler grass, the great advantage of plein air painting is that you have it there in front of you to look at.

This is what my palette looked like at this point. You will observe the rags (old pyjama I think) and the two round brushes. Once this photo was taken I changed the water.

Of one traditional hazard - midges - I was mercifully free. There was enough breeze. But at this point the sun moved so it was straight in my eye; I could neither see the subject nor the board. Fortunately the painting had reached a stage where there was no problem shifting my stance; I was long past copying the scene in front. The main worry at this point, when a picture has gone all right so far, is to wreck all. But I worked away with the small round brush, adding detail to the bark of the biggest trees, and used the rag to add more foliage. By now the build-up of paint was such that there was a sense of looking through leaves to more leaves beyond. Finally I reverted to the small round to paint some more precise, and lighter, foreground leaves.

So the picture was finished after about two and a half hours. A pleasant memory of a lovely spot.
No comments:
Post a Comment